RECENT UPDATES
 |
|
|
 |
|
|
 |
|
|
 |
|
|
 |
|
|
 |
|
|
 |

How to I connect my LED Pico to a computer?
Only computers that support video output via HDMI will work with the LED Pico
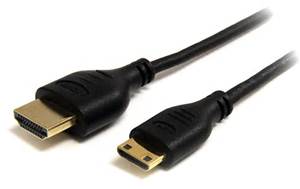
1. Using a mini-HDMI to HDMI cable that is sold separately, connect the smaller end of the cable to the LED Pico, and the larger end to your laptop or computer’s HDMI port.
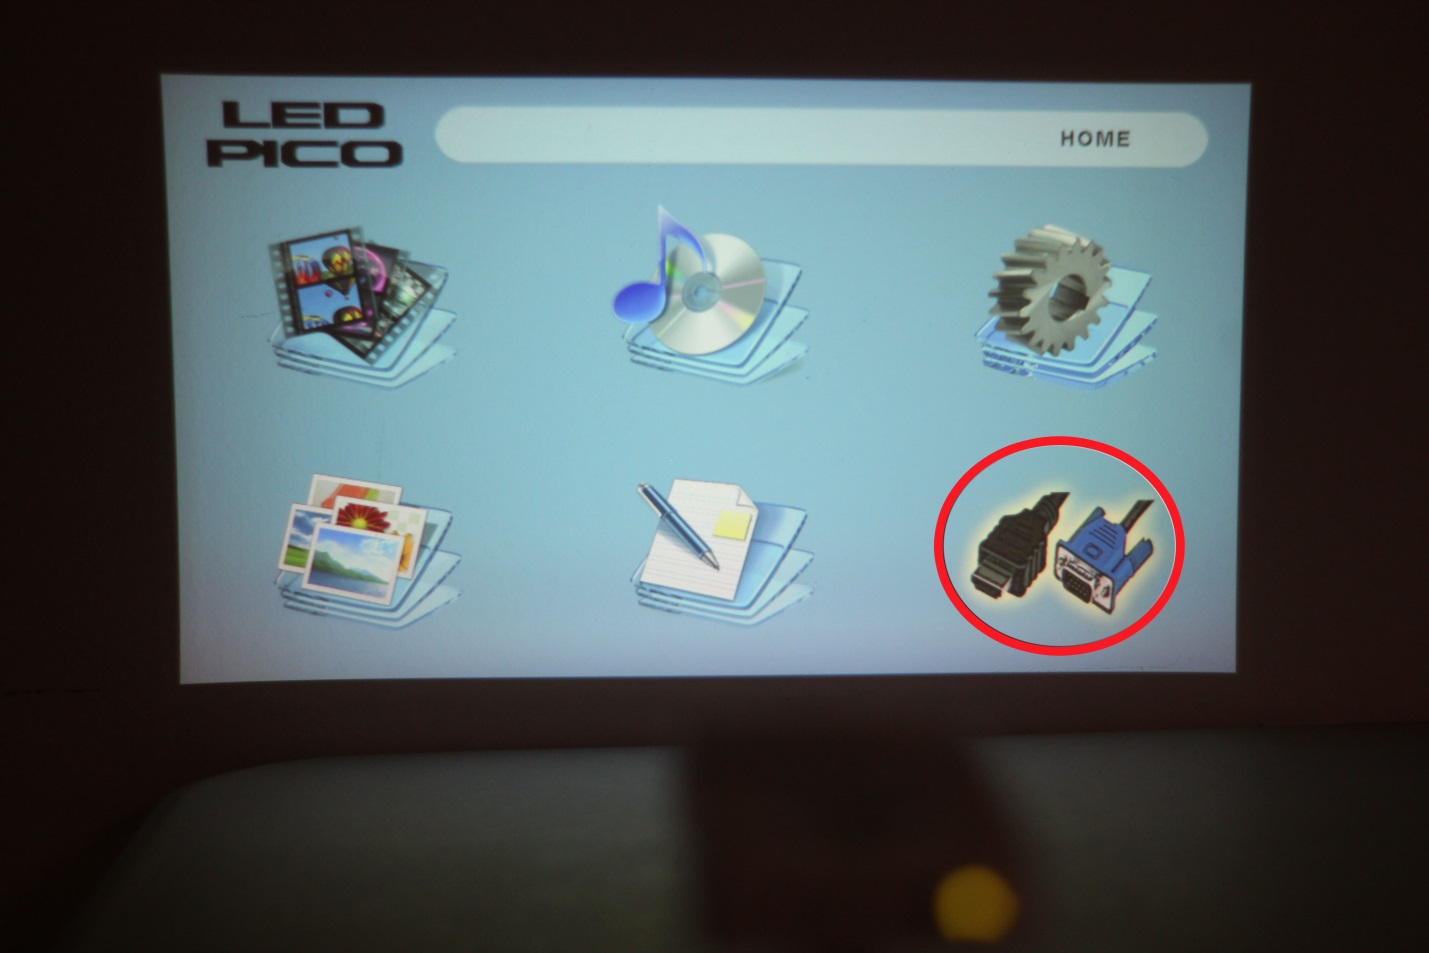
2. Once connected, turn on the LED Pico and on the menu screen, select the option circled in red below:
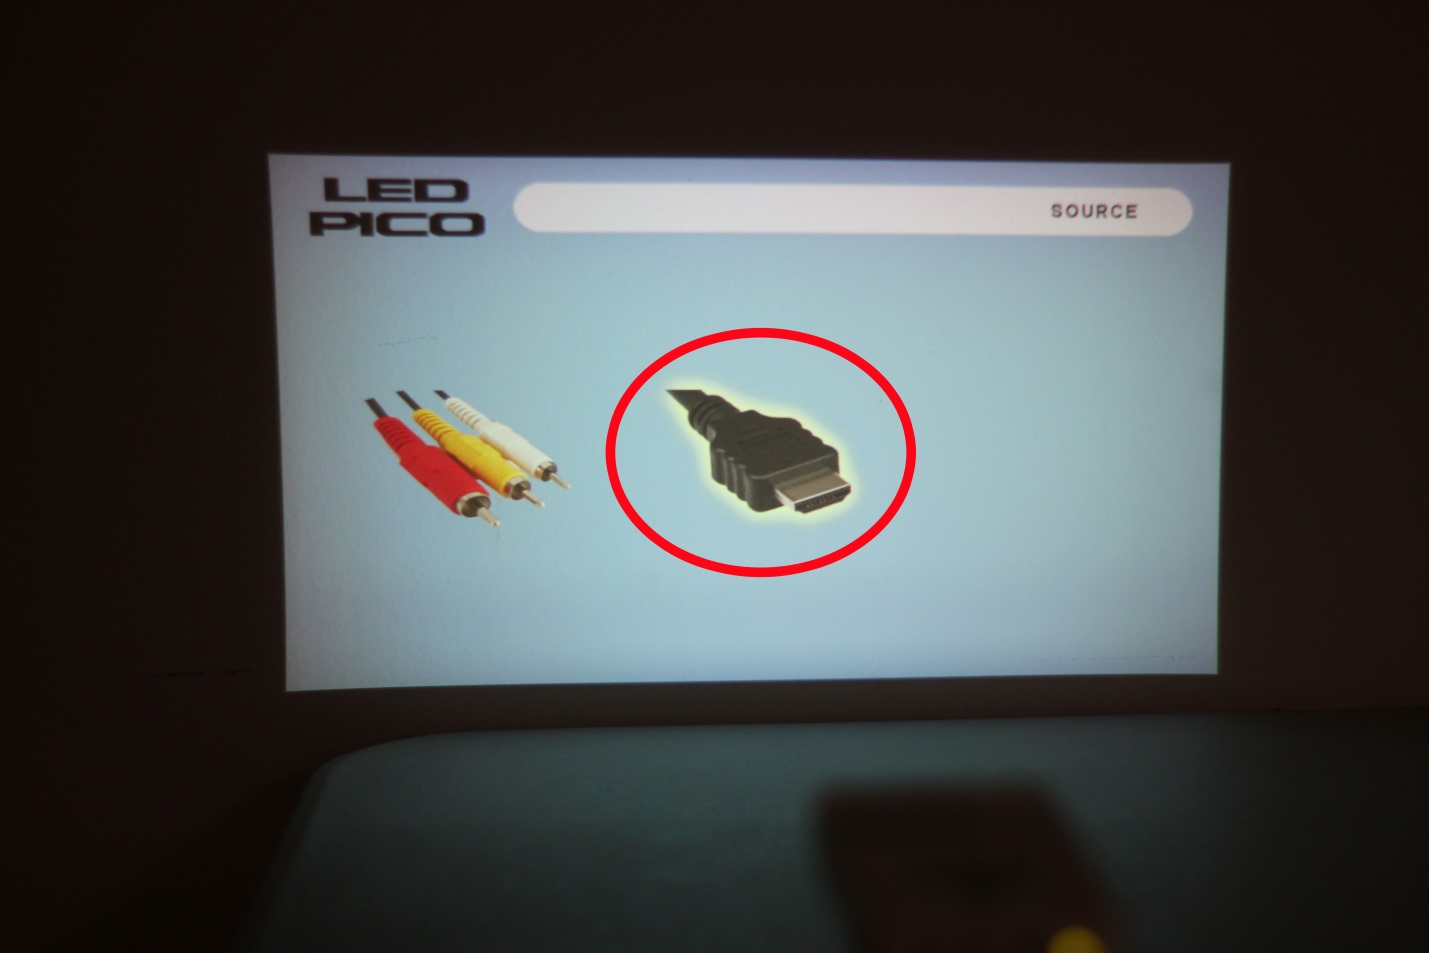
3. Then select the HDMI option (circled in red below)
4. On your computer screen, it may have already automatically connected through the HDMI, but you can adjust the settings to fit your needs. If you have Windows 7, press and hold down the Windows Key (the key with a windows flag) and then while holding down that key, press “P”. You can then set it the following ways:
a. Disconnect your projecting screen
b. Mirror your computer screen with what’s projecting
c. Make the projection an extension of your computer screen
d. Only operate your computer on the projected screen and nothing on your computer screen

5. Your LED Pico is now a second screen to your computer!