|
|
|||||||||

|

|

|

|

|

|
||||
 The AAXA P2 Jr. features the very latest in optical projection technology because at the heart of this pico projector is an amazingly small optical engine about the size of 3 silver dollars stacked together. This optical engine incorporates the very latest in pico-projector technology making the P2 Jr.s diminutive form factor possible. Packed into its tiny frame, the AAXA P2 Jr Pico Projector features a brilliant 55 lumen light engine, a powerful ARM processor, and HDMI and VGA inputs capable of accepting 1080P and WXGA resolution inputs respectively. The P2 Jr. Pico Projector is able to play movies, pictures, and music with its onboard processor and coupled with its 90 Minute Lithium-Ion battery, the P2 Jr. lets users spontaneously share photos, videos, or other digital media with friends and family anytime anywhere.
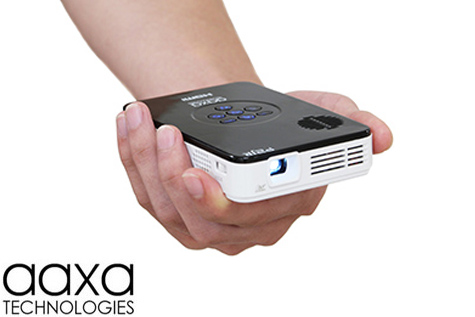
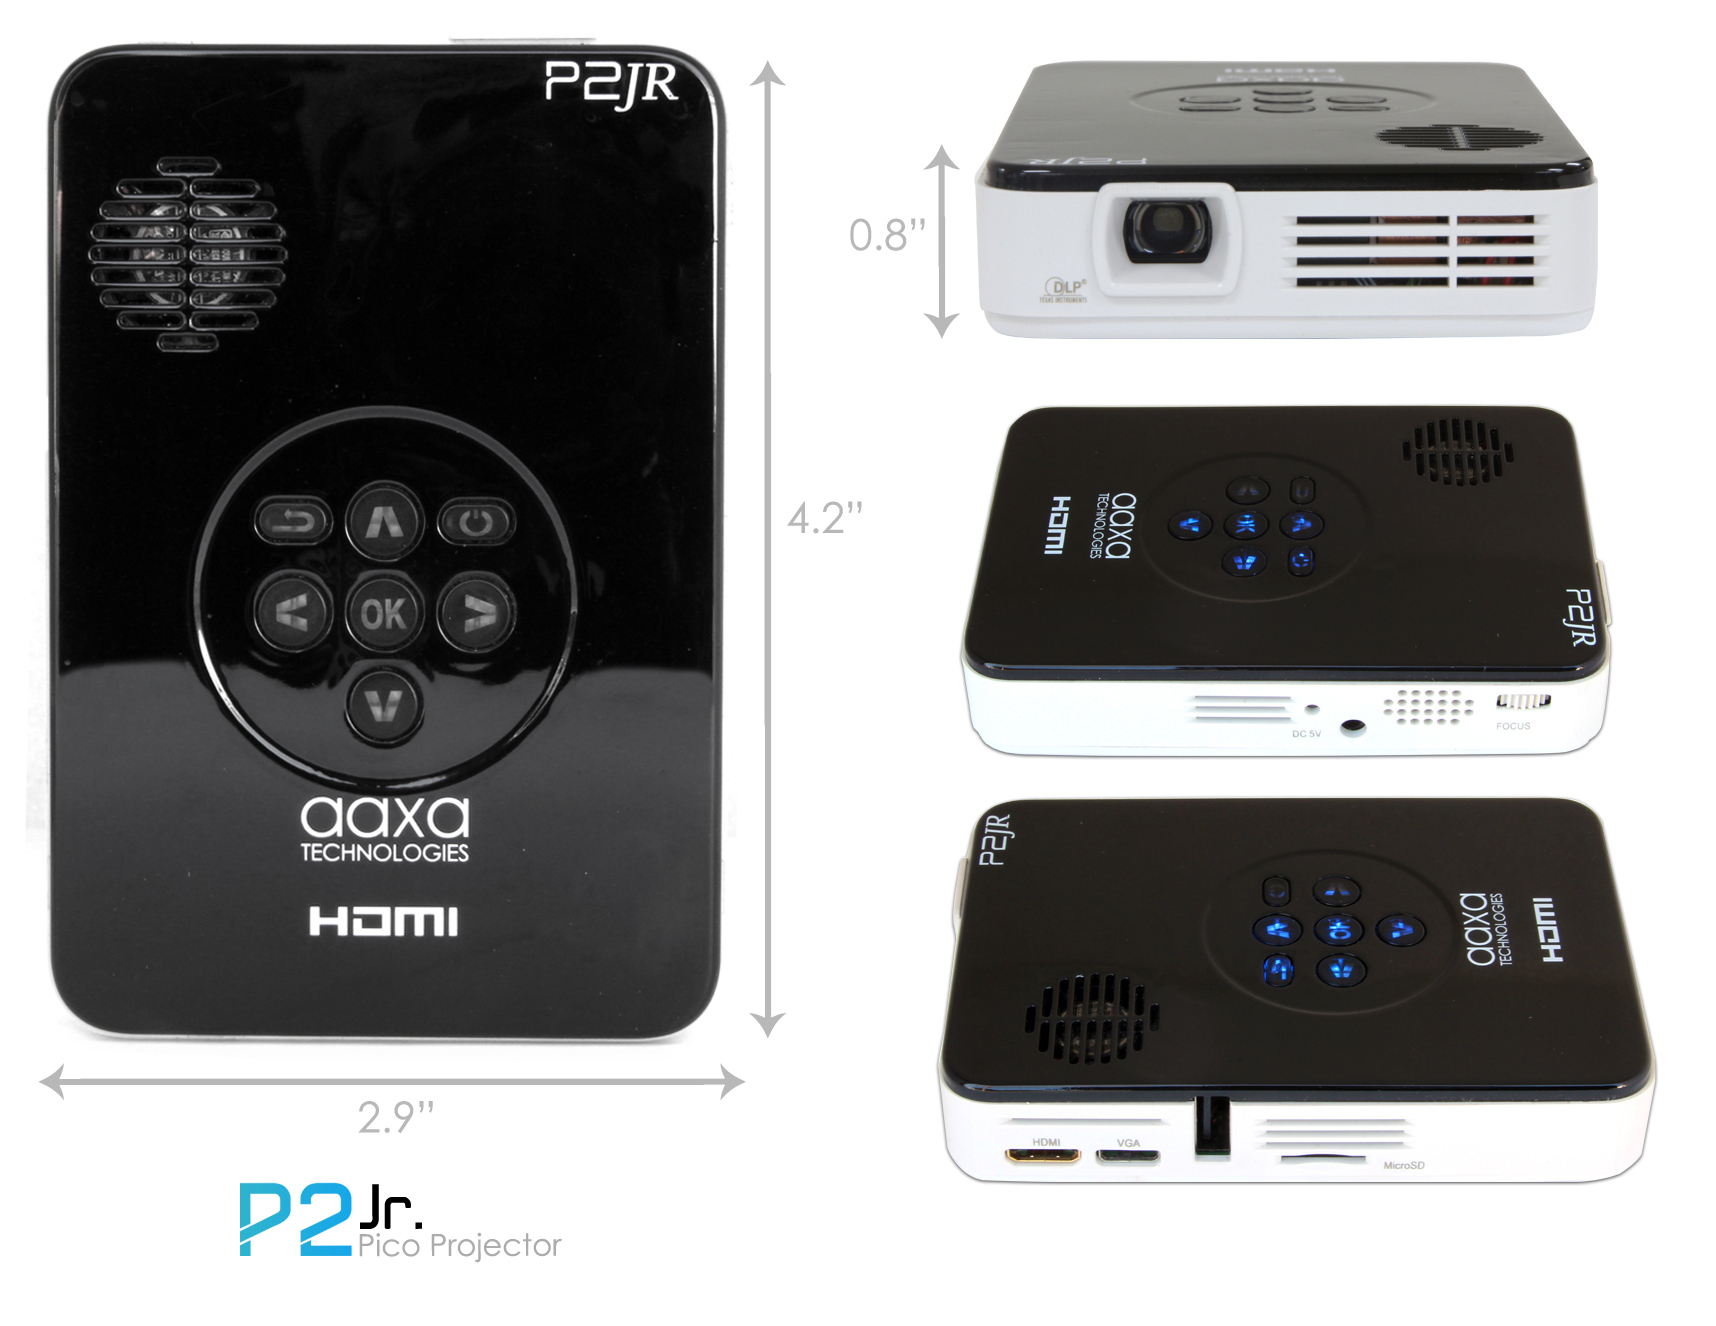
Weighing in at less than 0.3 lbs the AAXA P2 Jr. is a true pico projector. Roughly the size of a smart-phone, the P2 jr comes in at the size of just 4.2" x 2.9" x 0.8". The P2 Jr. with its tiny size, multiple functionalities, and wide compatibility represents the very latest in mobile entertainment technology.
Perfect for the Family
The AAXA P2 Jr. is the perfect companion for both adults and children. With its onboard media player, the P2 Jr. can project cartoons, movies, and pictures directly from a USB stick or Micro SD Card and entertain the whole family for hours.

Mobile Media Powerhouse
The AAXA P2 Jr. Pico Projector lets you share your photos, videos and other digital media with family and friends anytime, anywhere. The powerful ARM-based processor allows the AAXA P2 Jr Pico to natively play 720p videos, pictures, and even text and music directly from a USB or microSD card (up to 16GB). An entire media library can be preloaded for instant playback!
Take it Anywhere
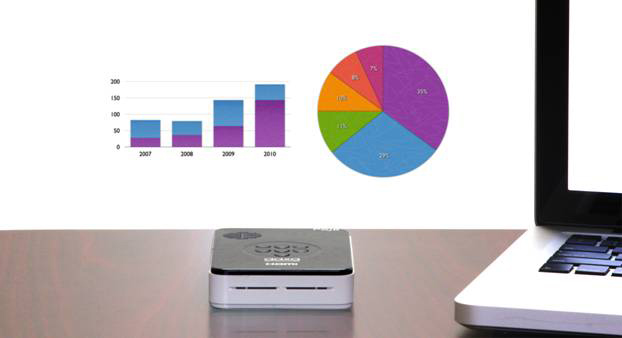
The P2 Jr. Pico Projector is a true pocket projector that fits comfortably in a pocket, purse, or briefcase . With the 90 Minute onboard battery, and powerful onboard media player, the AAXA P2 Jr. Pico Projector is a perfect all-in-one mobile multimedia center.

Long Operation Life and Quick On & Off

|
Conventional lamp-based projectors require frequent bulb changes with very expensive bulbs that cost hundred of dollars. |

|
The P2 Jr's LED light source lasts 10 times longer than conventional lamps so bulb changes are a thing of the past! |

|
Long warm-up and cool down times, sometimes for several minutes, are required for projectors using traditional lamps. |

|
The LED light source enables the AAXA P2 Jr's to achieve full brightness within seconds. Of course, it turns off instantly as well. |
Versatile Multimedia Support
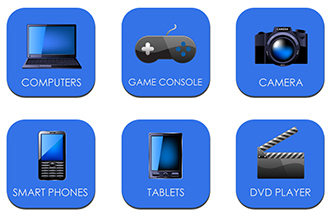
- Onboard media player supports popular file formats
-
- Share movies, videos, photos with friends and family
-
- Bring presentations anywhere and everywhere
-
- Enjoy gaming and entertainment without large TV's
Inputs & Connectors
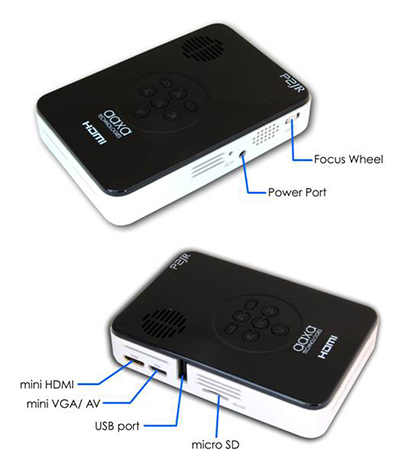
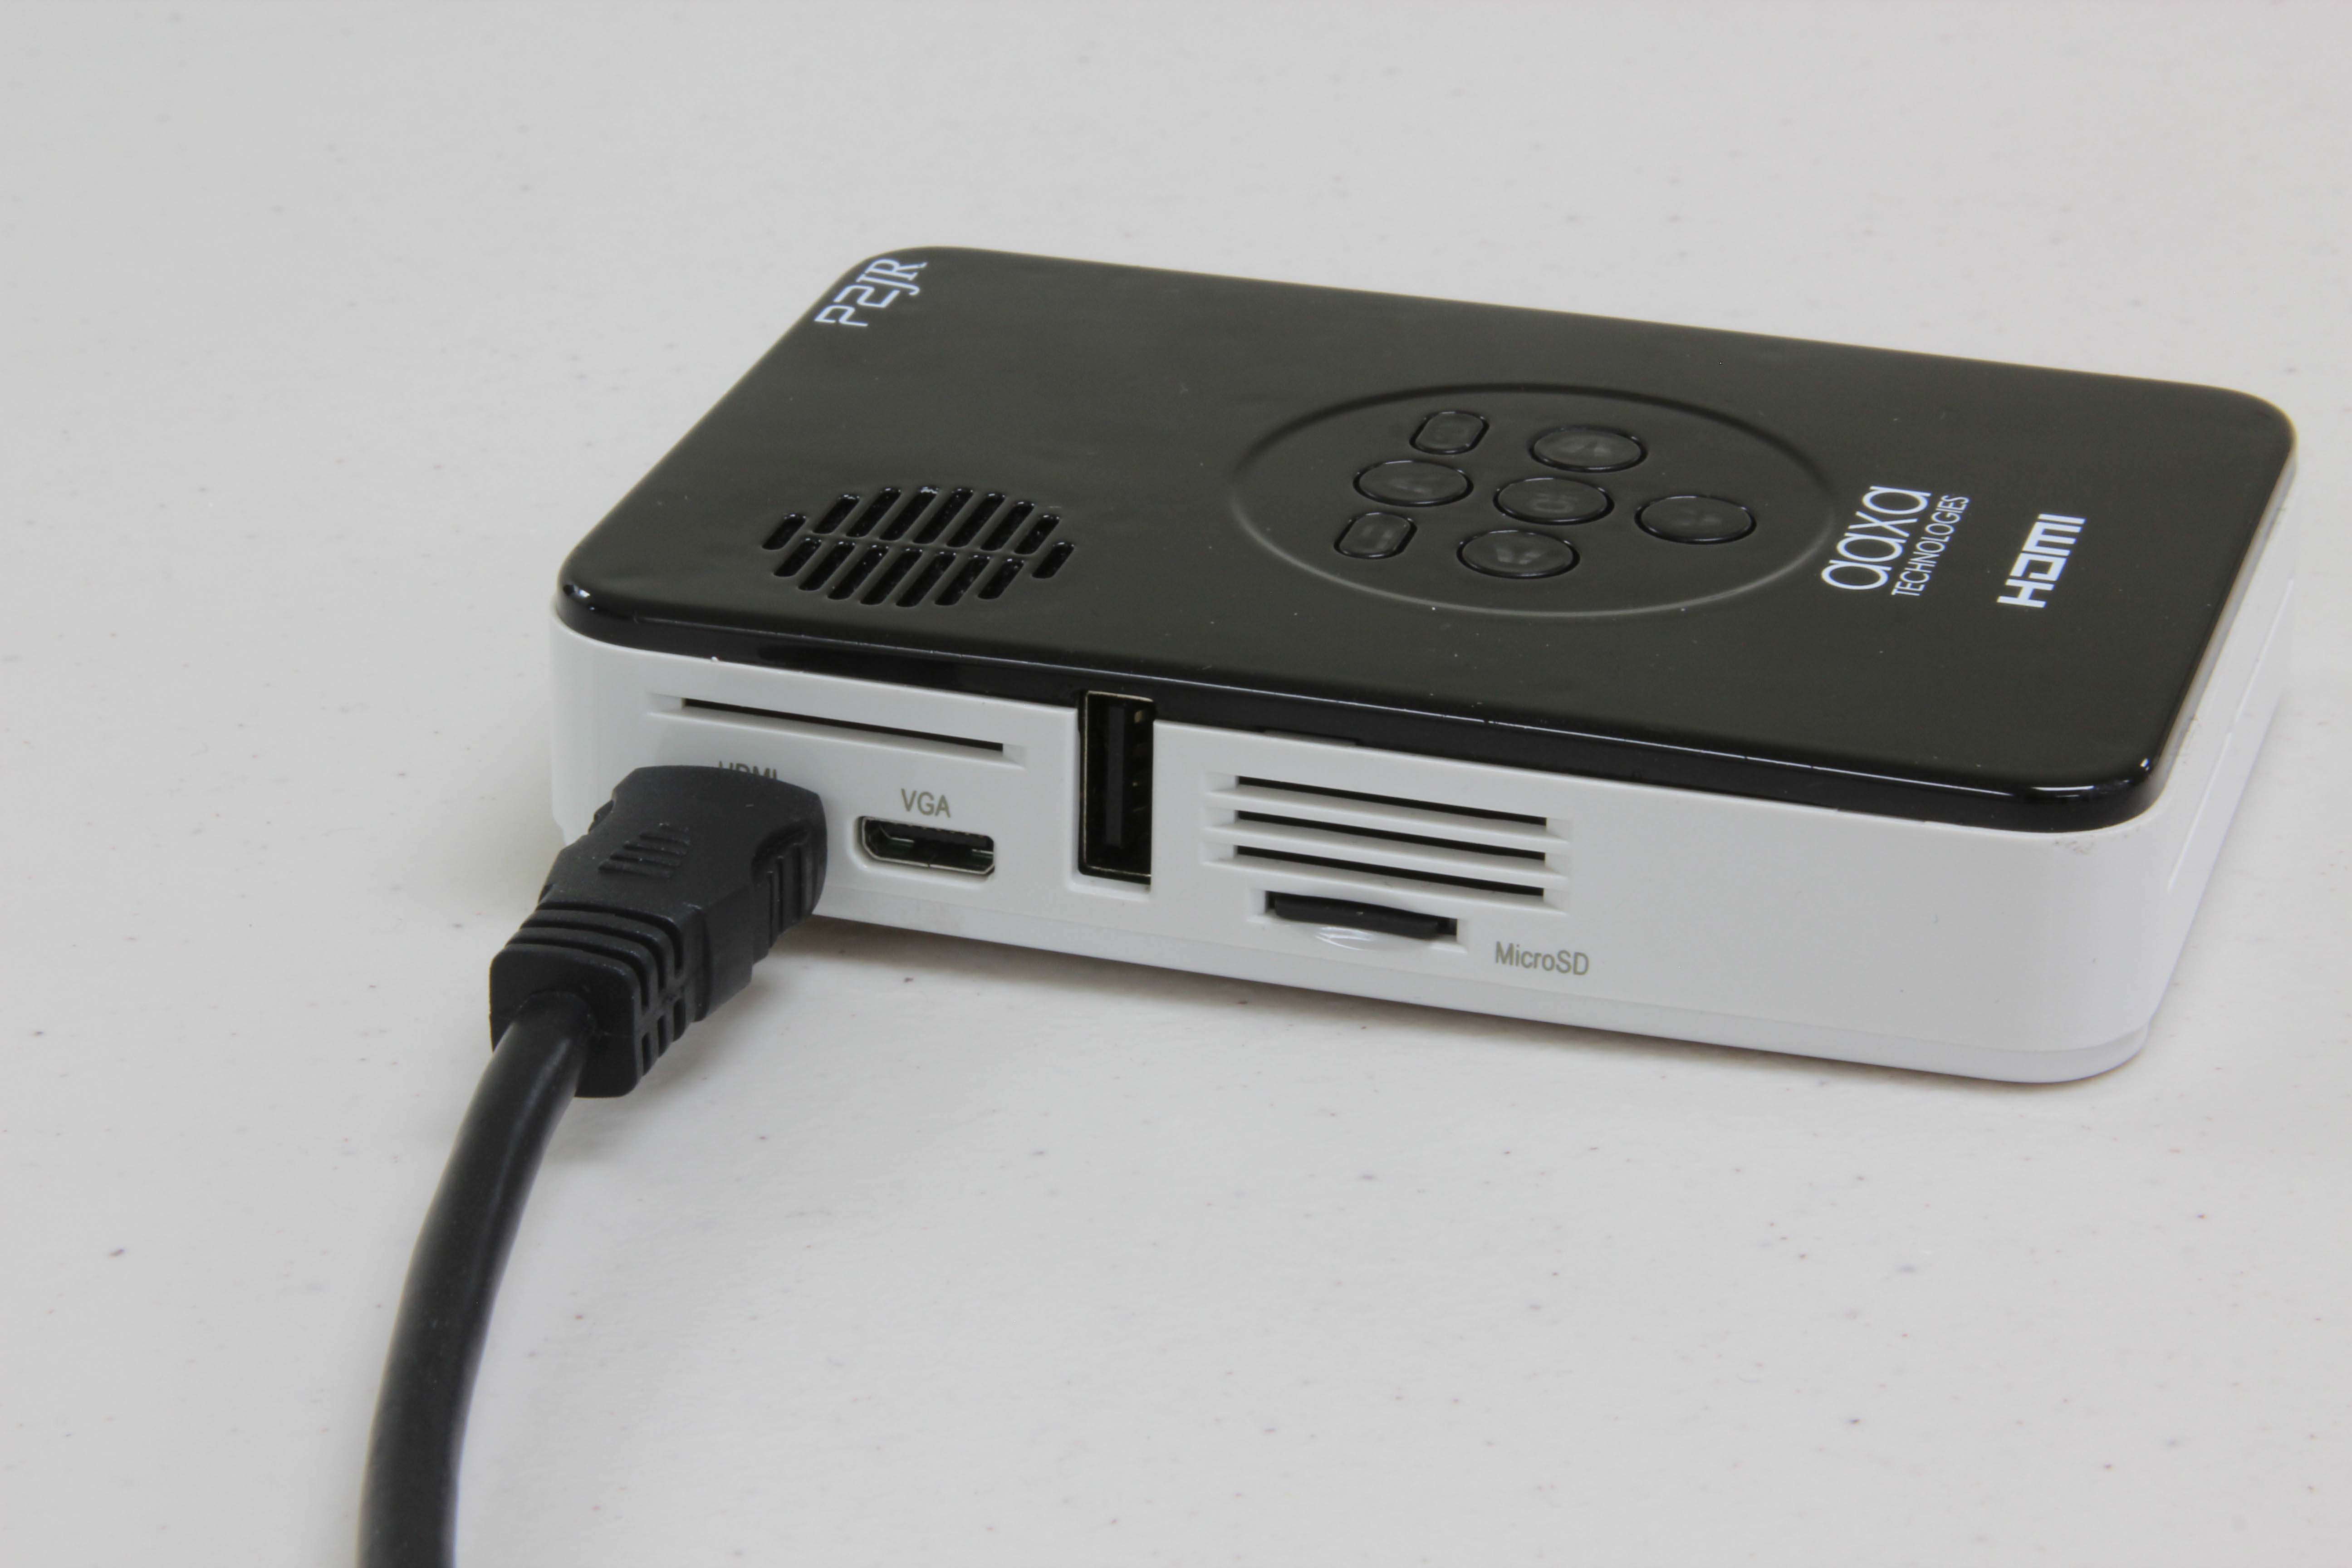
- mini-VGA Connection
-
- mini-HDMI 1080P Connection
-
- USB Port for Video & Picture Playback
-
- microSD Card (up to 16GB)
-
- Composite RCA, Adapter included
-
Environmentally Friendly

|
The AAXA P2 Jr's LED light source consumes less power. The LED is also 100% free of mercury and, as the bulb never needs to be replaced, there are no discarded bulbs. |
*50" image possible in low light conditions
|
|
|
| Max Input Resolution: | 1920x1080 (1080P) |
|
|
|
| Brightness: | 55 Lumens (DC Mode) |
|
|
|
| Contrast Ratio: | 1000:1 |
|
|
|
| Projection Lens: | Manual Focus |
|
|
|
| Projection Image: | Available Size 10 ~ 50 inches |
|
|
|
| Lamp: |
Triple RGB LEDs with Vibrant Color Technology Life 15,000hrs |
|
|
|
GENERAL SPECIFICATIONS
|
|
|
| Battery Runtime | 90 Minutes |
| Audio Output: |
1W stereo speaker |
|
|
|
| Color: | Gloss White/Black |
|
|
|
| File Playback: |
USB Memory Stick reader microSD Card Reader (up to 16GB) |
|
|
|
| Menu Language: | English, French, Dutch, Chinese, Portuguese |
|
|
|
| Aspect Ratio Control: | 4:3 |
|
|
|
| Throw Ratio: | 1.6 |
|
|
|
| Dimensions: | 4.2" * 2.9" * 0.8" |
|
|
|
| Weight: | 0.3 lbs |
|
|
|
| Power Consumption: | 6W |
|
|
|
| Supported Formats: |
MP3 / AVI BMP / JPG / GIF / TXT |
|
|
|
| Conformances: | CE, FCC Class A |
|
|
|
INPUTS / OUTPUTS
|
|
|
| Video In: |
mini-HDMI mini-VGA Composite A/V (3.5mm Jack) |
|
|
|
| Audio Out: | 3.5mm Stereo Headphone Jack |
|
|
|
| USB: |
5 Pin USB 2.0 |
|
|
|
THROW RATIO (1.60)
|
|
|
| Screen Diagonal (inches) | Screen Distance (inches) |
|
|
|
| 8 | 10 |
|
|
|
| 12 | 15 |
|
|
|
| 16 | 20 |
|
|
|
| 24 | 30 |
|
|
|
| 31 | 40 |
|
|
|
| 39 | 50 |
|
|
|
| 47 | 60 |
|
|
|
| 55 | 70 |
|
|
|
INCLUDED ACCESSORIES
|
|
|
|
DIMENSIONS
|
|
Popular Accessories
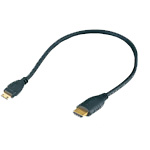 |
AAXA mini-HDMI to HDMI Cable
MSRP: $24.99 $18.99 
|
 |
AAXA MHL Cable for Samsung Galaxy S3, S4, S5, Note 2, Note 3, Note 4
MSRP: $25.00 $19.99 |
|
|||
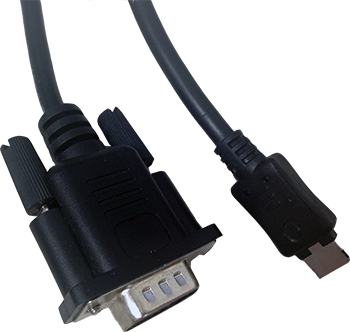 |
AAXA Mini-VGA Adapter
MSRP: $24.99 $14.99  | 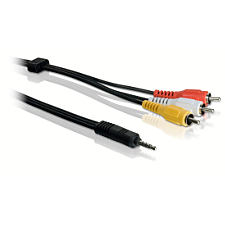 |
AAXA P2 Jr. AV Cable
MSRP: $25.00 $9.99 
|
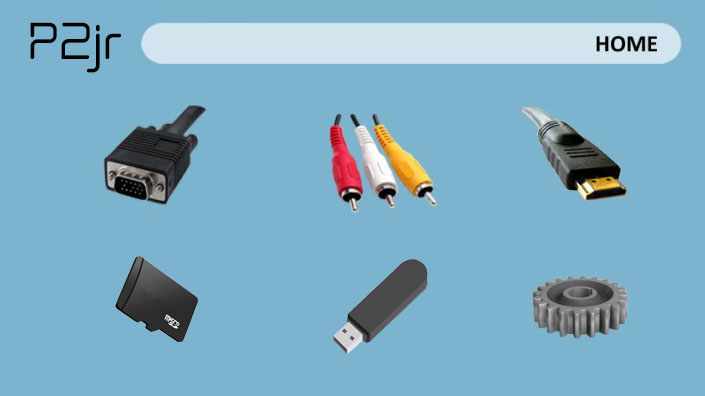
P2 Jr MEDIA PLAYER MAIN MENU
Excellent Color Reproduction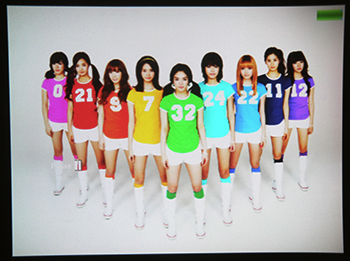 |
Capable of 50" Images in Dimly Lit Room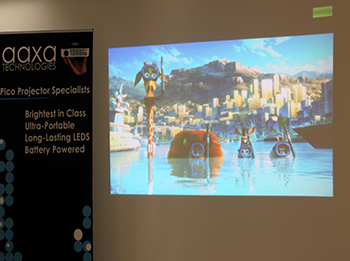 |
High Contrast Provides Deeper Blacks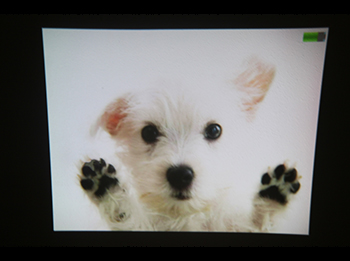
|
Great Performance Even in Bright Room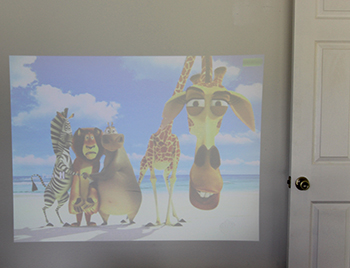
|
High Resolution Text Display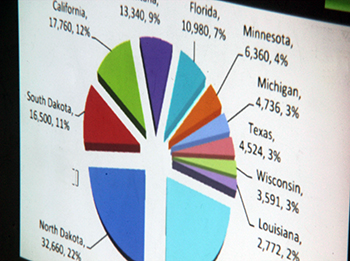 |
HDMI Display with iPhone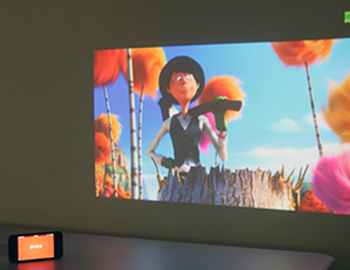 |
 Competitor Comparisons
LED Projectors versus UHP Projectors
Portable PowerPoint Presentations with AAXA Projectors

1. How do I connect my P2 Jr to an iPod/iPhone/iPad via HDMI?
These are the steps to connect via HDMI (an Apple HDMI adapter is required)
- Turn on the projector and your iPod/iPhone/iPad.
- Plug in your Apple HDMI adapter into the bottom of your iPod/iPhone/iPad.
-
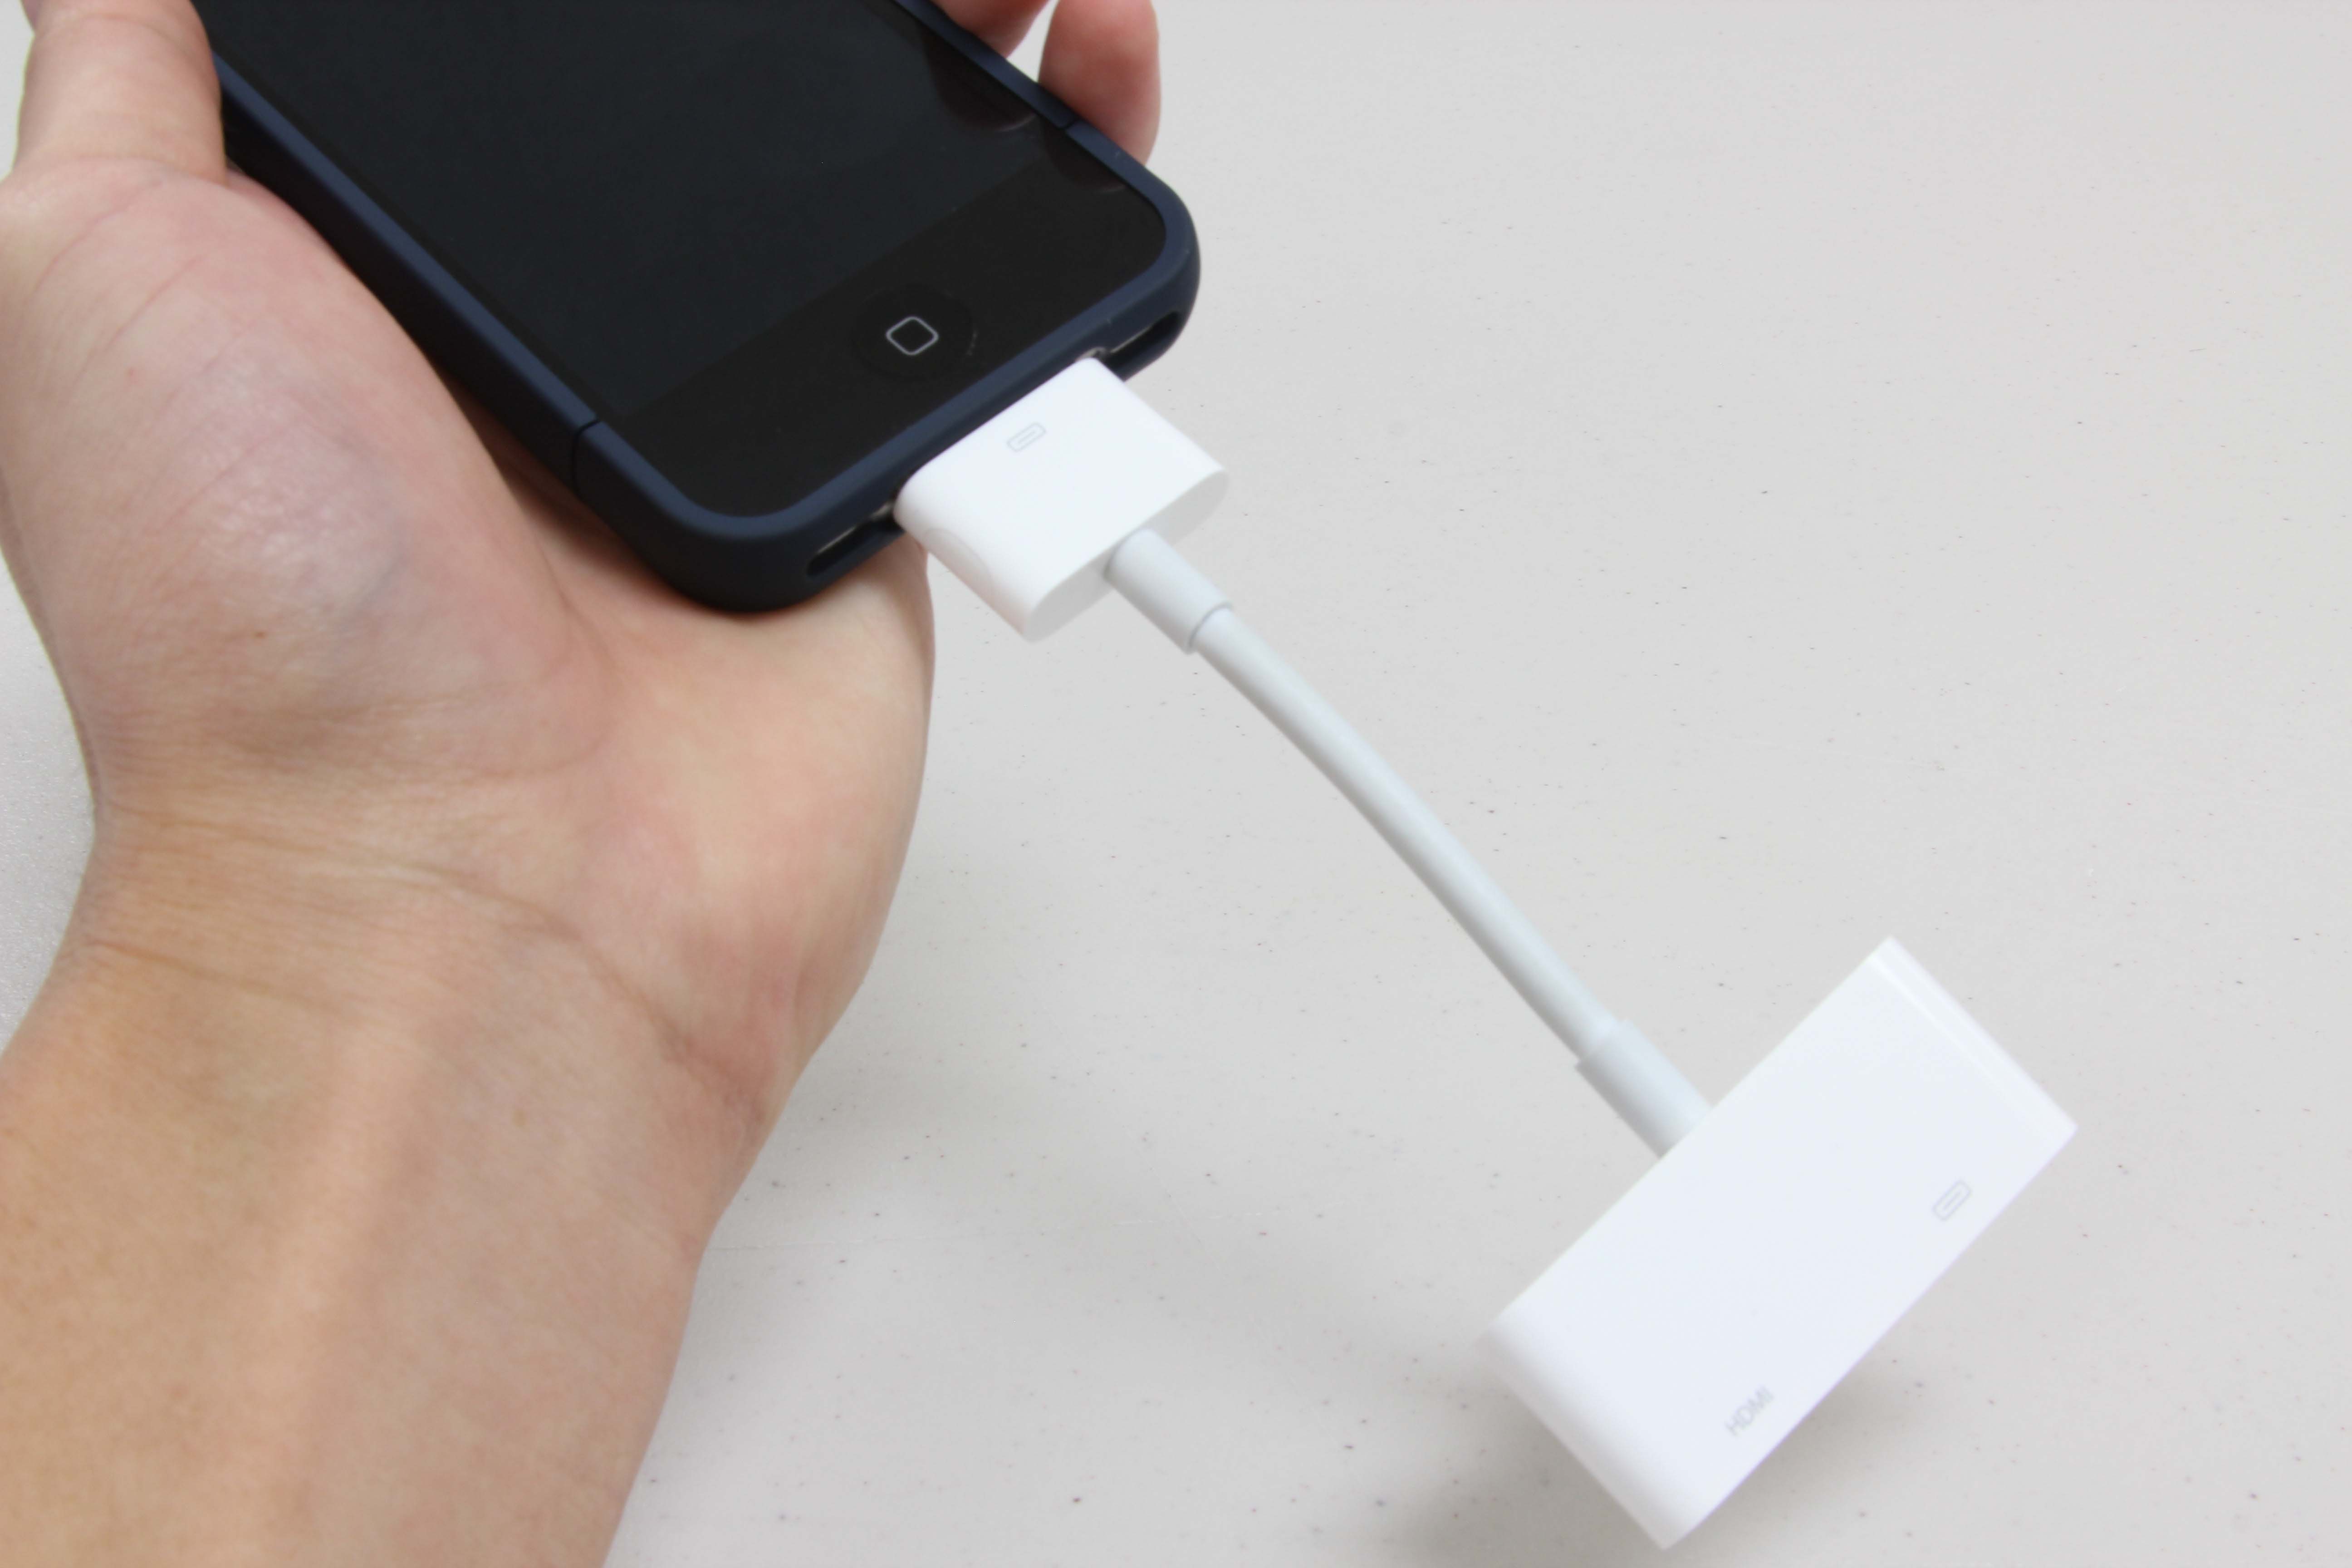
- Insert the HDMI cable into the bottom of the adapter and the other end of the cable into the mini-HDMI port in the P2 Jr.
-
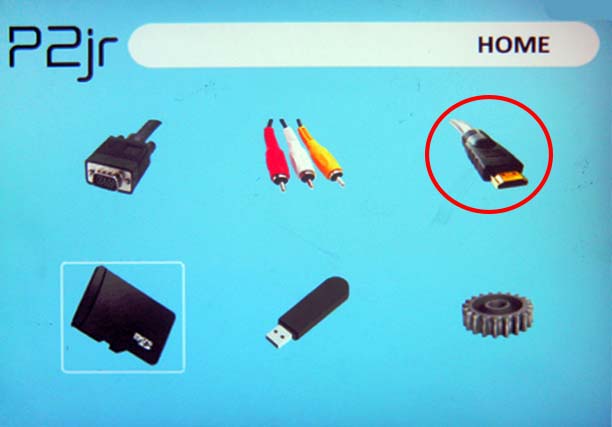
- Choose HDMI on the P2 Jr home screen.
-
2. How do I connect my P2 Jr to a Samsung Galaxy S3, S4 or Note 2?
Here are the instructions to connecting your P2 Jr with your Samsung Galaxy smartphone.
- Put in the micro USB end of the MHL Cable into the bottom of your Samsung Galaxy S3 or Galaxy Note 2
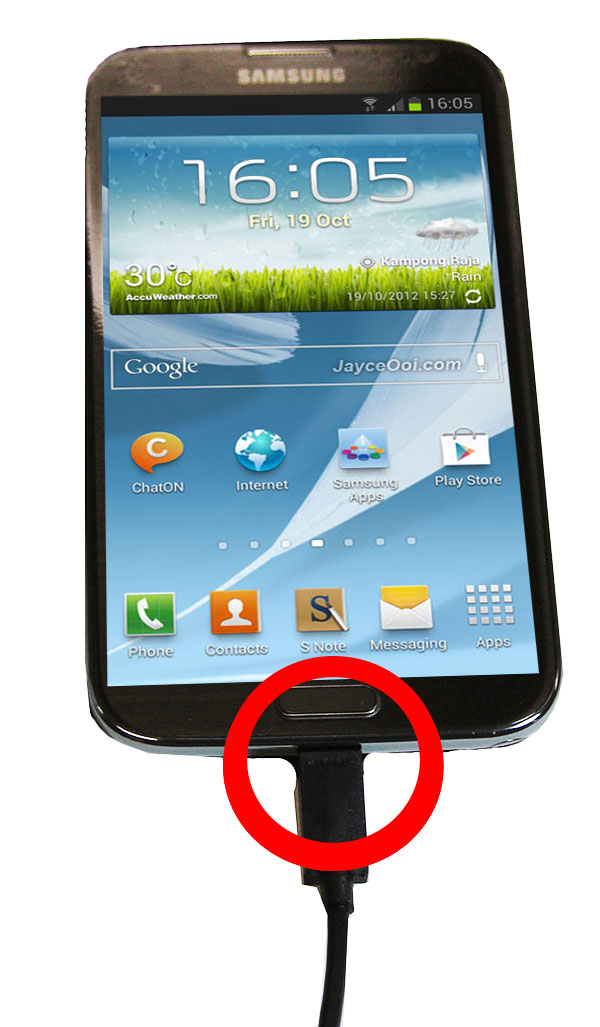
- Insert the full HDMI port into the mini-HDMI adapter and plug into your P2 Jr. Then connect the USB to the full-size USB port on the P2 Jr.
- Turn on the projector by pressing the power button
- Navigate to the input section on the P2 Jr and choose HDMI.
- Enjoy the full mirroring capabilities of the P2 Jr and your Samsung Galaxy smartphone.
3. How do I convert my movies to a supported file type the P2 Jr can read?
Here are some tips on how to play supported videos on your AAXA P2 Jr Pico Projector.
There are many types of codecs for AVI. So even though a file may say it is an AVI extension, it may be using a codec that the projector doesnt recognize.
Please try the following:
Go to format factory and download the converter application. We have had great success with this free and lightweight conversion program. Use it to convert your video to AVI and that should do the trick. If it does not, it may be because your video is too big and you can try a smaller resolution for your projector. Your USB or SD card must also be under 16GB in size.
4. How do I connect my P2 Jr to a computer?
The P2 Jr Pico Projector can be connected to your computer either through the HDMI input or VGA input.
To connect via HDMI or VGA input
- Turn on both your computer and your AAXA P2 Jr Pico Projector.
-
- Plug in the larger end of the HDMI cable or VGA cable into your laptop.
-
- On the P2 Jr. homescreen, choose source and then choose either HDMI or VGA resolution.
-

- On the Laptop display, RIGHT CLICK on the desktop and say Properties.
-
- Click on the SETTINGS tab (far right) If you want your displays Mirrored, (what is on the internal display is on the projector) you should make sure the box next to " Extend my Windows desktop into this monitor" is UNCHECKED. Some older systems have a mirroring box, check that if you see it and want mirroring. If you do not want mirroring, skip the next section and continue with 5a below, then return to #8 of the section immediately below.
-
- NOTE: The following steps apply if you are running your PC in MIRROR mode only. If you do NOT want mirrored displays (internal and external display different things), CHECK the box next to the line that says "Extend my Windows desktop into this monitor." This SHOULD cause the external monitor to display a picture which is an EXTENSION of the current desktop.
-
- Drag the screen slider to 1200x768 (if your laptop will let you.) Typically, the external monitor MAY limit this setting. If your screen display is higher, it might not display on the projector, so you might want to test this before you are ready to speak. Drag the color quality to Highest (32 bit) if available, or Medium (16 bit) if the first is not available.
-
- Now, look at your keyboard. Typically, one of the function buttons will have the words CRT/LCD or perhaps a small picture of a monitor on it. Note this key for future use. On a Dell, it is typically F8. And I have seen it in F5 as well. Your machine's keys will vary, but it should be there. Holding the FUNCTION KEY (FN), Press the proper function button ONCE and wait. After a few seconds, the second display should come on. Be patient, this can take up to 5 seconds. On the projector, it may take up to 10 seconds for the projector to detect your system and switch. Note: a second press of this function will (usually) switch to EXTERNAL monitor only. A third press will go INTERNAL only, and around the circle for each press after that. Also note that some laptops may do this sequence in a different order, so learn your system so you can quickly switch to the mode you want.
-
- Click on the ADVANCED button. If "apply the new display settings without restarting" is not selected, select it. Under Screen Refresh Rate, select 60 Hz. Click APPLY and CONFIRM the choice. Click OK to close the ADVANCED dialog window. Close the Display Properties Dialog. You should now see a mirroring of your monitor on the second monitor
-
- Testing: As a test, disconnect the second monitor, put your laptop to sleep. Wake it up and let it fully come up (log-in if necessary), and then reconnect the external monitor. On some machines, it should quickly display the screen in the last known setting (you may need to wait up to 10 seconds.) If it does not display correctly, press the monitor switching function key ONCE. Again, note that it may take up to 10 seconds to display, so be patient. If only the projector now displays, a few presses of the switching function key should bring it around to both displays again. If you cannot get the projector to display, recheck all your connections and settings stated above.
-
- Note that when using the Projector, after pressing the Function key for the monitor change, it may take up to 10 seconds for the monitor to find and lock on to your machine. Just wait for it. Pressing the FUNCTION key again may simply mess up your settings or switch the projector off.
-
- When you arrive at the front of the room to speak, connect your monitor to the display cable (BRING YOUR ADAPTERS FOR YOUR LAPTOP TO VGA IF NEEDED.) When the monitor switch is switched to display your laptop on the projector, it should detect the display and just show up, but some systems will not automatically switch. Again, if this does not happen, you may need to press your display function key to switch on the external monitor.
-
- few more notes on this: Not all laptops work the same way, and there are some differences in Windows OS releases on the order of the switching functions. You should learn how yours works BEFORE you get to the stage. Also, I noted a difference between computers put to sleep before connected, and systems which have not been put to sleep. If the computer was connected to an external display, disconnected and then reconnected with no sleep in-between, the external monitor should come right on when connected. However, on most of the systems I tested this on, if the laptop went to sleep between connections, it required using the switching function key to get the screens back on UNLESS the display was connected before waking the unit. On two Dells, pressing this key brought back the projector, but not the internal display, requiring two more presses of the key to get both displays on. Chalk it up to different hardware and software releases.
-
- When done, disconnect the external monitor. From the display menu drop down, you can reselect your desired display resolution.
5. How do I view files from my USB on the P2 Jr?
The P2 Jr. can play media files off of a USB flash drive by easily connecting the USB stick into the USB port located on the P2 Jr.
- Connect your USB flash drive to your computer.
-
- Drag your desired video and photo files directly into your USB flash drive folder located on your Desktop screen.
-
- Disconnect your USB flash drive and connect it directly to the USB port on the P2 Jr.
-
- Turn on the projector and select the USB source on the main menu.
-
- Select the media file that you wish to play and enjoy!
-
-


