More Performance, Features, and Value - The New AAXA P5 Delivers Best-In-Class Experience for Business Presentations and Home Theater Applications

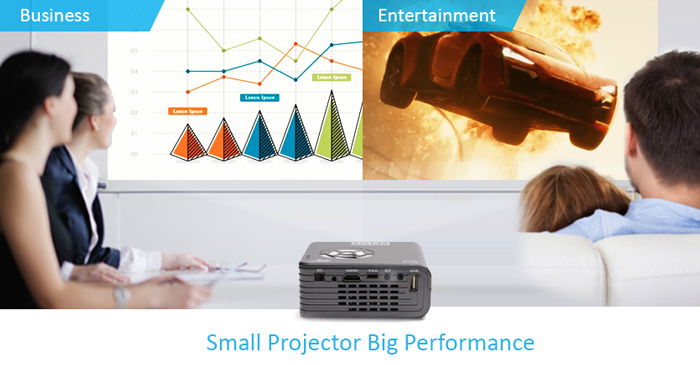
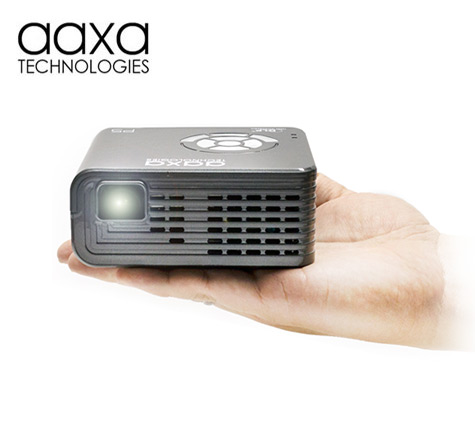
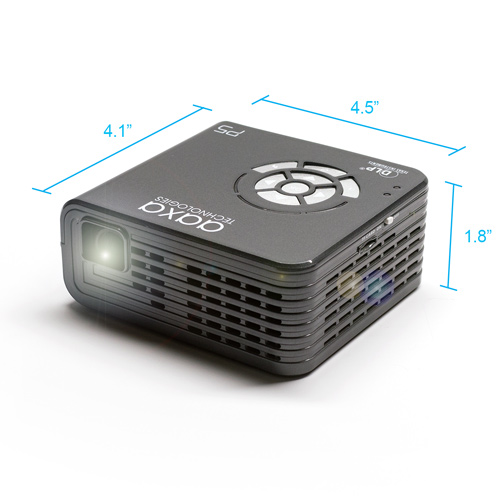
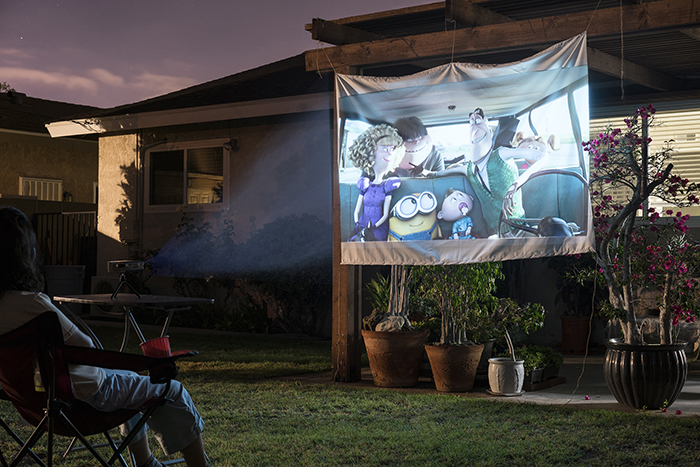
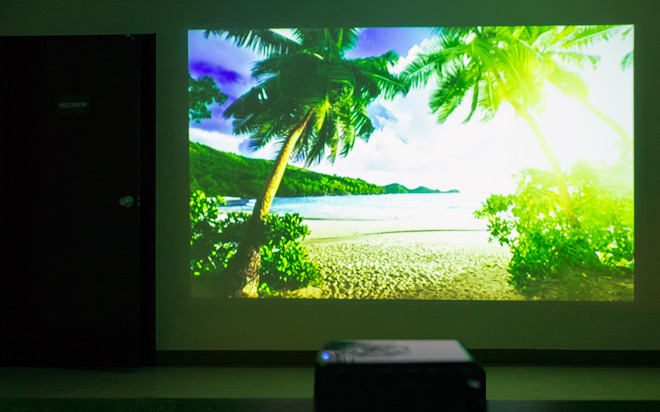
 The AAXA P5 is the World's Smallest 300 Lumen Pico Projector. It revolutionizes mobile projection by mating a lithium ion battery with LED Projection technology. This union creates a no compromise portable projector that can deliver high quality images both plugged in or on battery power. With it's third generation optical system, the P5 features a brilliant 300 Lumen optical engine powered by 20,000 Hour Vibrant Color LEDs and a native HD resolution of 1280x720. This optical power house enables the P5 to deliver vivid 120" displays in dark areas and usable displays in brightly lit areas - a first for mobile projection.
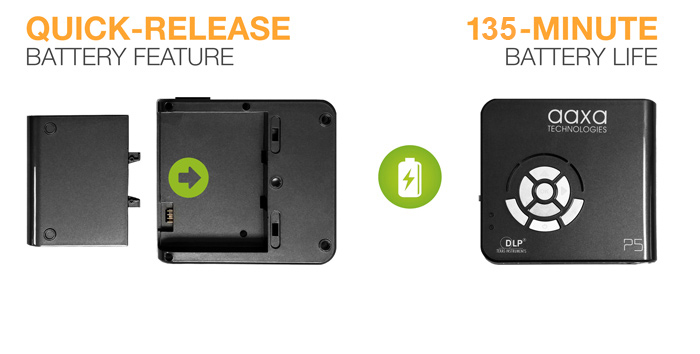
135-Minute Battery Life
The AAXA P5 revolutionizes mobile projection with it's onboard lithium ion battery that enables anywhere-anytime projection. Powering this system is a game changing lithium ion battery that supports a 135 minute operating time (in eco brightness mode)* and produces over 3 times the brightness of other battery powered projectors. Also built-in to the P5 is a "premium grade" battery that is designed to retain 85% of it's charge over 1000 charge cycles. The AAXA P5 Pico projector now gives anyone the ability to deliver long presentations or enjoy a full-length movie without cords!
True HD 720P Resolution

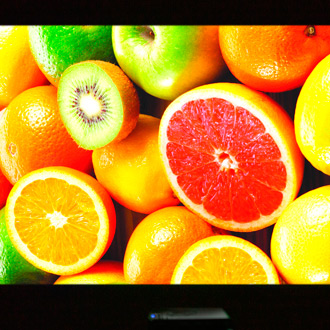
The P5 LED Pico Projector delivers a stunning true HD 1280x720P native resolution through a state-of-the-art Texas Instruments DLP HD resolution imager. No resolution gimmicks are employed (up-scaling, pixel turning, optics vibration) - what you see is what you get.
All In One Mobile Media Powerhouse
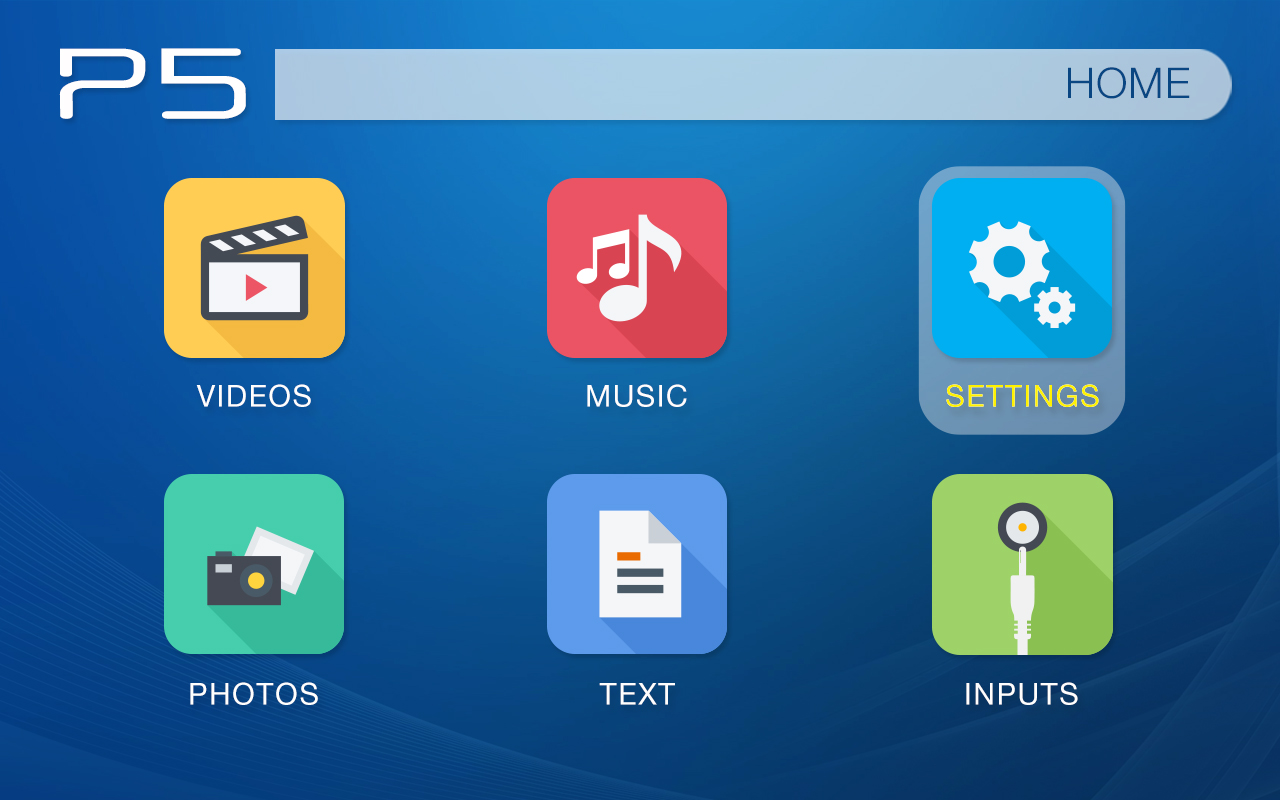
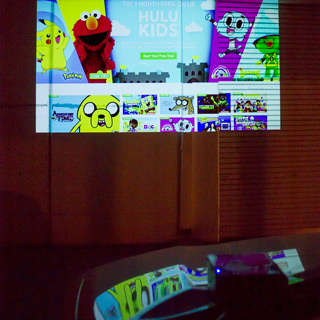
Directly onboard is a powerful media player that lets users share photos, videos, and other digital media with family and friends anytime, anywhere. The powerful ARM-based processor enables native playback of 720P high resolution videos, movies, and high megapixel pictures. Combined with the built-in 135-minute battery, the P5 is a true mobile projection solution. A stand-alone media powerhouse.
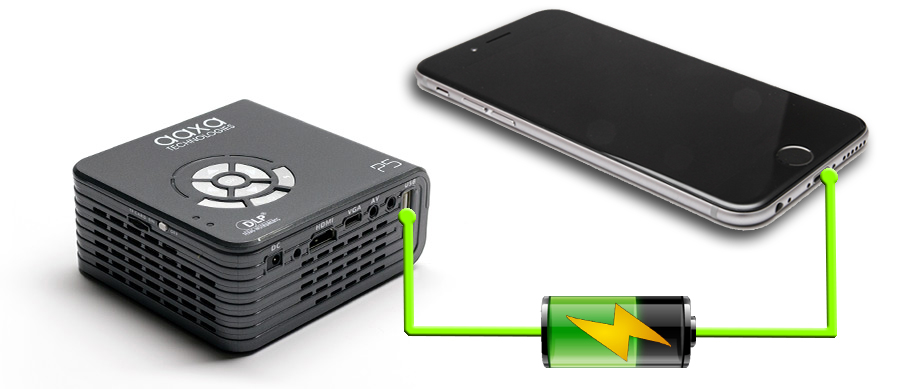
Power Bank Feature
The P5 Pico projector can double as an emergency charger for most USB devices. Its onboard 22W Lithium ion battery can deliver 4-5 complete charges (3 watts / hour) for most smartphones. To use see our FAQ section.
Solid State LED Light Source

Short (instant) warm up and cool down times. With LED Projectors there is no longer the need to wait for long lamp warm-up and cool-down times. |
 The P5 LED Pico Projector's LED light source enables it to achieve full brightness within seconds. It also turns off instantly, as well. |
Long Operating Life

Conventional lamp-based projectors require frequent bulb changes with very expensive bulbs that cost hundreds of dollars. |

The P5's LED light source lasts 10 times longer than conventional lamps, so bulb changes are a thing of the past! |
Versatile Multimedia Support
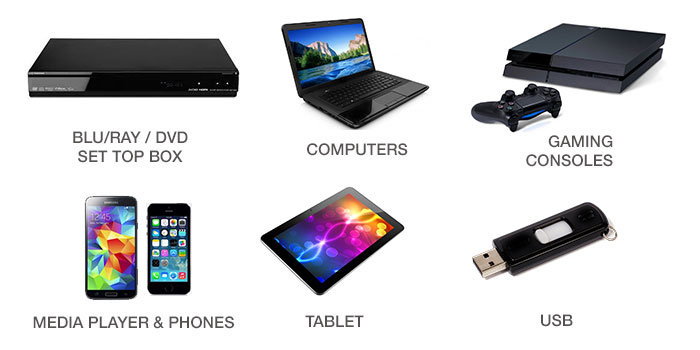
NOTE:
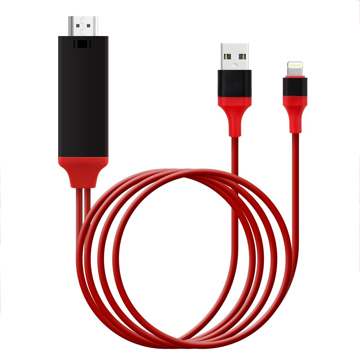
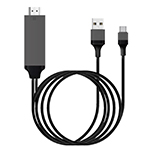
Apple & iPhone connection requires Apple Proprietary cables Android Smartphone connection requires MHL Cable
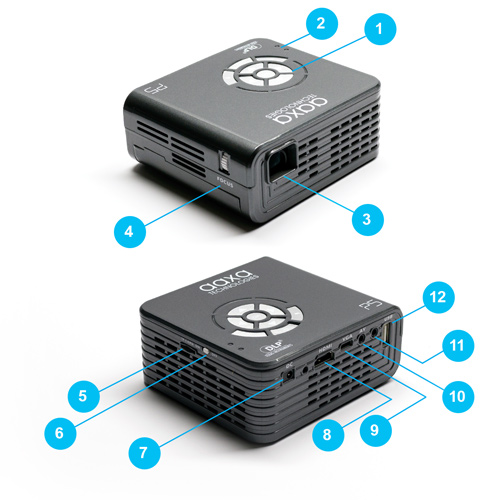
Inputs & Connectors
- Navigation Pad
- Charge Indicator
- Lens
- Focus Wheel
- Micro SD
- Power Switch
- DC
- HDMI Input
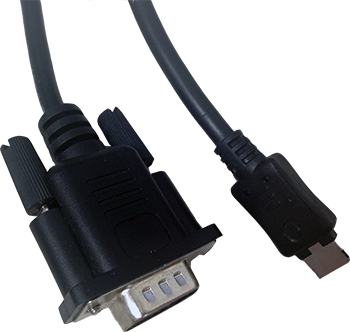
- Mini - VGA
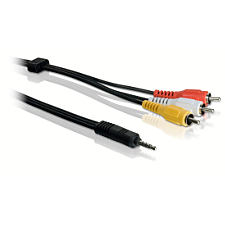
- Composite Input
- Audio Out
- USB Reader

The AAXA P5 Pico Projector light source consumes less power. The LED is also 100% free of mercury and, as the bulb never needs to be replaced, there are no discarded bulbs.
 AAXA P5 User Manual
 Competitor Comparisons
LED Projectors versus UHP Projectors
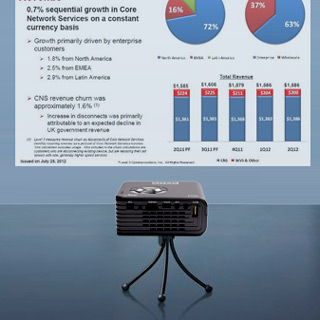
Portable PowerPoint Presentations with AAXA Projectors
Q. If you are unable to connect your USB flash drive to the P5, here are some tips.
A. Follow the following steps to connect your USB drive to the P5:
1. First make sure your USB flash drive is 32 GB or lower for the projector to read it.
2. Then it is recommended that the flash drive should be formatted to FAT32 for the best results.
3. Also, have your files in the root of your USB flash drive instead of in folders, so that the projector will read the files correctly.
4. Furthermore, make sure that the files you want to be played on the projector are supported with the P5. You may check in the Specification section.
5. Once you have your USB flash drive connected, go to the corresponding option to play your file. So if you want to play a movie file, you would select the Videos option.
6. If you have done these steps and there is still no connectivity, please contact AAXA Technical Support either by email or by phone for further assistance.
Q. What do I do if the P5 is unable to hold a charge or turn on?
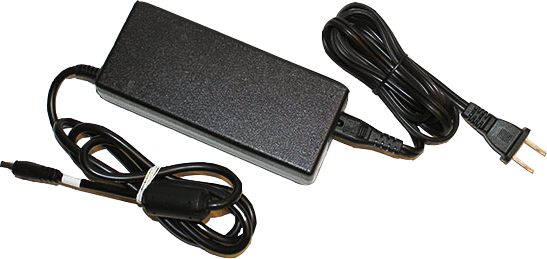
A. 1. First, make sure that the LED indicator on the power adapter and on the projector is on and working properly.
2. If there is no light, try plugging the power adapter into another power outlet to see if there is something wrong with the power adapter.
3. If there is nothing wrong with the power adapter, go to the projector and see if the charging light indicator is on. Please note for the projector to charge, you must have the projector turned off and plugged in for it to charge properly.
4. When you try to turn it on and it gives you a flashing red and green LED light where it is circled in red, try pressing the power button after it is done flashing to see if it turns on.
5. If the projector shows no signs of power, then the power adapter must be defective and we can ship out a replacement one for you if you are under our one year warranty at no cost.
6. If you have done these steps and the projector still does not turn on, please contact us either by email or by phone call to AAXA Technical Support for further assistance.
Q. How do I connect my P5 to an HDMI/VGA enabled device?
A.Your P5 is ready to be connected to HDMI/VGA enabled devices. This of course means Android devices, tablets, ultrabooks, laptops, and Blu-Ray players.
1. Connect your P5 to the device you wish to project either through HDMI to the left or VGA to the right.
2. Ensure that either the application or devices are video-out enabled.
3. Visit the Inputs icon on the P5 and choose HDMI or VGA.
4. Ensure that the cable is properly secured to the output device and that the application is video-out native.
5. Enjoy your application or output device!
Q. How do I connect my P5 to a PC Computer?
A. The instructions below are for Windows XP. For Windows Vista and Windows 7, the instructions should be similar. Please follow the steps below to connect your computer to your projector.
1. Using either the supplied VGA cable or a standard HDMI cable, connect each end of the cables to each the P5 and your computer.
2. Once connected, turn on the P5. On the menu screen, select the external input cable option.
3. Then, select the HDMI or VGA option depending on how you have connected it.
4. On your computer screen, it may have already automatically connected through the HDMI, but you can adjust the setting to fit your needs. If you have Windows 7, press and hold down the Windows Key (the key with a windows flag) and then while holding down that key, press "P". You can then set it the following ways:
• Computer Only - Disconnect your projecting screen
• Duplicate - Mirror your computer screen with what's projecting
• Extend - Make the projection an extension of your computer screen
• Projector Only - Only operate your computer on the projected screen and nothing on your computer screen
5. Your P5 is now a second screen to your computer!
Q. How do I use the P5 to charge my smartphone?
A. The USB port will automatically deliver around 3 watts of power when the power switch on the P5 is switched to "on". To charge a device without projecting use the power button found on the keypad to shut off the projection engine.
Q. How do I connect my P5 to a Mac Computer?
A. 1. Take the lightning mini display (or Thunderbolt) port to HDMI adapter and connect the smaller end into the MacBook pro or air.
2. Take the HDMI cable and insert one end into the female port of the adapter.
3. The other end of the HDMI cable is then inserted into the P5.
4. Open the System Preferences, and then select DISPLAYS. Click the small check box next to "Show displays in menu bar." This will allow you to quickly set up your displays when connecting to the projector from a simple menu bar drop down rather than have to open the System Panel.
5. If you plan to use "mirroring" (what you see on your laptop is what you see on the projector), you should select 1920x1080 or lower, as the display resolution of your internal monitor before starting (if possible). This should make the projector happy when you connect. Other resolutions may or may not work. If you are using PowerPoint or Keynote for your talk, you do not need to turn on mirroring, so the internal resolution can be anything you desire as the external and internal monitors display separate data in these programs.
6. When a second Monitor is connected, it should automatically redraw the internal monitor and add the new external monitor automatically. The mode in which it starts up in will be based on your last connection to a similar monitor. That means setting it up with an external monitor now should make the process go faster.
7. If your Mac did not detect the added monitor, you should select the Monitor drop-down in the menu bar and select "Detect Displays" to make it find the monitor. After that, the monitor should display. Once the monitor is connected, in the same menu drop-down, set the external display to 1200x720 (60 Hz). A confirmation dialog will appear on the external display (or both if mirroring is on), and you have 15 seconds to click "CONFIRM" to remain these settings. Click “CONFIRM” to lock in these settings.
8. If you wish to mirror your displays, again, drop down the display menu item, and select Mirror Displays. No confirmation is needed once this is done. You may have to change the display resolution again if there was a different previous setting, but this can quickly be done from the same menu drop down. Again, select 1280x720.
9. It is suggested that you turn off all Screen Savers and Power Saving settings, both of which can be found in the System Preferences. Also, it is suggested that you bring your power supply, as this will make your presentation go smoother by preventing the computer from going to sleep or blanking the display.
10. Testing: Sleep your machine with no monitor connected. Wake up the machine FULLY, and then attach your external monitor. It should immediately come up in the last known mode. If not, practice with the menu bar drop-down menu item for the monitors to be able to quickly switch to the proper modes.
11. When the monitor switch is switched to display your Mac on the projector, it should detect the display and switch to the last known setting. Again, if this does not happen, select DETECT DISPLAYS from the drop-down menu item to make this happen. If any settings come up wrong, they can quickly be changed with this drop-down menu selection.
12. When done, disconnect the external monitor. From the display menu drop down, you can reselect your desired display resolution.
Q. How do I connect my P5 to an MHL enabled Android device?
A. Your P5 is ready to be connected to MHL enabled devices. Make sure your MHL device has an HDMI out on one end. Note: Some Android devices are not compatible with MHL but will have the option of Slimport instead and some do not allow mirroring. Please check if you specific Android device supports MHL or Slimport. Also our projectors only support 11- pin devices.
1. Connect your P5 and the device you wish to project.
2. Ensure that either the application or device is video-out enabled.
3. Visit the Inputs icon on the P5 and choose HDMI.
4. Ensure that the cable is properly secured to the output device and that the application is video-out native. Additional settings might be necessary to enable output.
5. Enjoy your application or output device!
Q. How do I install or remove the external battery for my P5?
A. Battery Removal:
1. Locate the battery locking mechanisms underneath the projector.
2. Slide the two locking mechanisms outwards.
3. Gently slide the Battery Pack out by pushing the battery pack away from the projector.
Battery Installation:
Reverse the removal instructions and ensure the battery is properly connected to the
guide clips.
Q. How do I connect my P5 to an iPhone/iPad?
A. Your P5 is ready to be connected to HDMI/VGA enabled devices. This of course means Android devices, tablets, ultrabooks, laptops, and Blu-Ray players.
1. Connect your P5 to the device you wish to project either through HDMI to the left or VGA to the right.
2. Ensure that either the application or devices are video-out enabled.
3. Visit the Inputs icon on the P5 and choose HDMI or VGA.
4. Ensure that the cable is properly secured to the output device and that the application is video-out native.
5. Enjoy your application or output device!
Q. How long does it take the P5 to have a full charge?
A. The P5 will take about two and half hour to fully charge. Please note that the projector will not charge while in use and only when it is turned off. The LED Indicator in the front of the projector will turn blue once the P5 is fully charged.


 The AAXA P5 is the World's Smallest 300 Lumen Pico Projector. It revolutionizes mobile projection by mating a lithium ion battery with LED Projection technology. This union creates a no compromise portable projector that can deliver high quality images both plugged in or on battery power. With it's third generation optical system, the P5 features a brilliant 300 Lumen optical engine powered by 20,000 Hour Vibrant Color LEDs and a native HD resolution of 1280x720. This optical power house enables the P5 to deliver vivid 120" displays in dark areas and usable displays in brightly lit areas - a first for mobile projection.














 Competitor Comparisons
